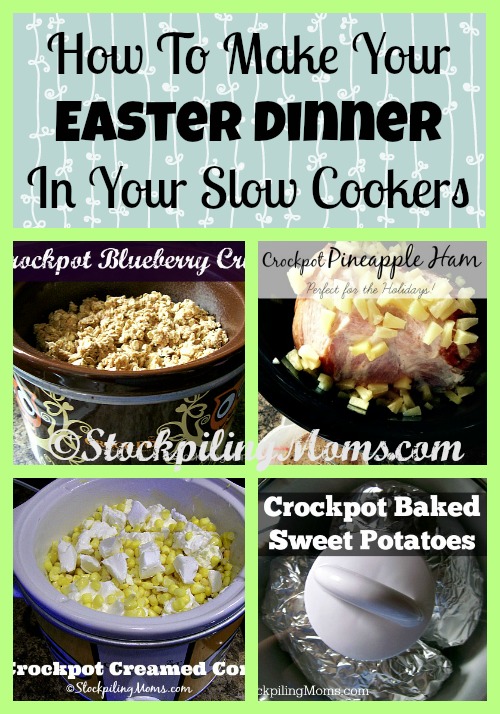
Easter Candy Pouches

I was looking for a fun and easy Easter Craft to do with Peyton and found these Easter Candy Pouches online. I love them! They would be the perfect Easter Craft or could be made as a treat for Easter Baskets when filled with candy or other special treats! They would be fun to hand out at a play group or to teachers.
Easter Candy Pouches:
Supplies:
- white, yellow and orange construction paper
- yarn or string
- scissors
- hole punch
- candy or other filler
- googly eyes
- markers
- large eye needle or scotch tape
Directions:
1. Cut egg shaped pieces of paper from the white and yellow construction paper.
2. Cut a beak and legs from the orange construction paper and bunny ears from the white.
3. Place the front and the back of the egg patterns together then punch holes around the edges about 1-inch apart.
4. Thread the yarn or ribbon through the paper egg large eye needle or scotch tape (you can use scotch tape by wrapping the yard or thread and then after you are complete clip it off).
5. Fill with candy of your choice (jelly beans or chocolates) or you could make this a non-candy treat by filling with small items like stickers or even a cotton filling to make 3D.
6. Tie off the ribbon or yarn in the back of your egg.
7. Attach your bunny ears and beak/legs with glue.
8. Add googly eyes and using markers complete the face/ears.
You could also make this out of felt sheets that you can easily purchase from Michael’s or other craft store. Easter Candy Pouches are a simple Easter Craft or Easter Basket Sweet Treat!
I found this project at Simply Modern Mom.
Easter Projects You May Enjoy:
Easter Card – Thumbunny Loves You
INTERESTED IN FREEZER COOKING?
We have a Freezer Cooking 101 Series that you may enjoy!
Stockpiling Moms can be found in all your favorite places. Hop on over to Instagram and follow the fun. We love posting memes, family fun, travel, and whatever we are feeling that day. Pinterest is also an amazing place to visit Stockpiling Moms. This is where you can pin all your favorite articles from our Food, Travel & Lifestyle Blog.

Melissa is a football and soccer mom who has been married to her best friend for 24 years. She loves sharing recipes, travel reviews and tips that focus on helping busy families make memories.